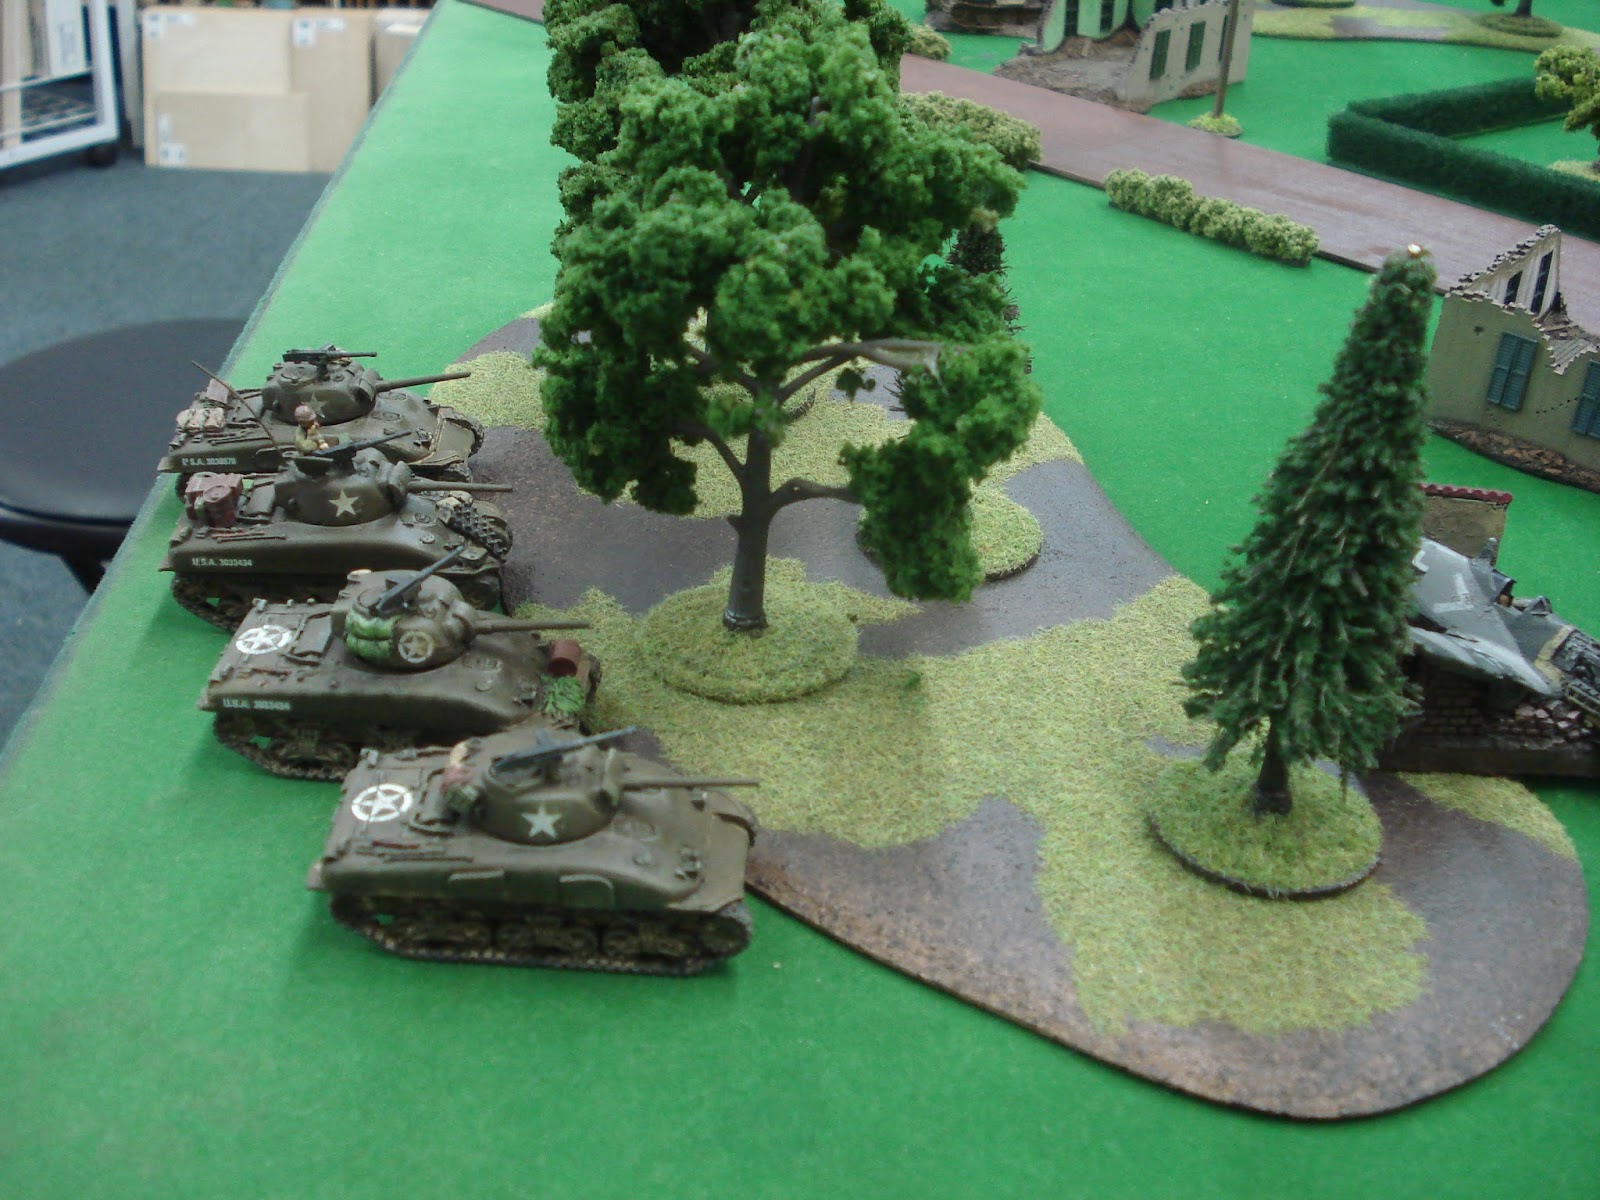
We were able to get together this weekend and finish up the Operation Overlord Campaign with a bang. And for the first time I was able to get my Beutepanzers on the board, WooHoo! Panzer Abteilung 206 ready for action and to face off against me, American Paratroopers from the 82nd Airborne.
Matthew had a great airborne list that consisted of:
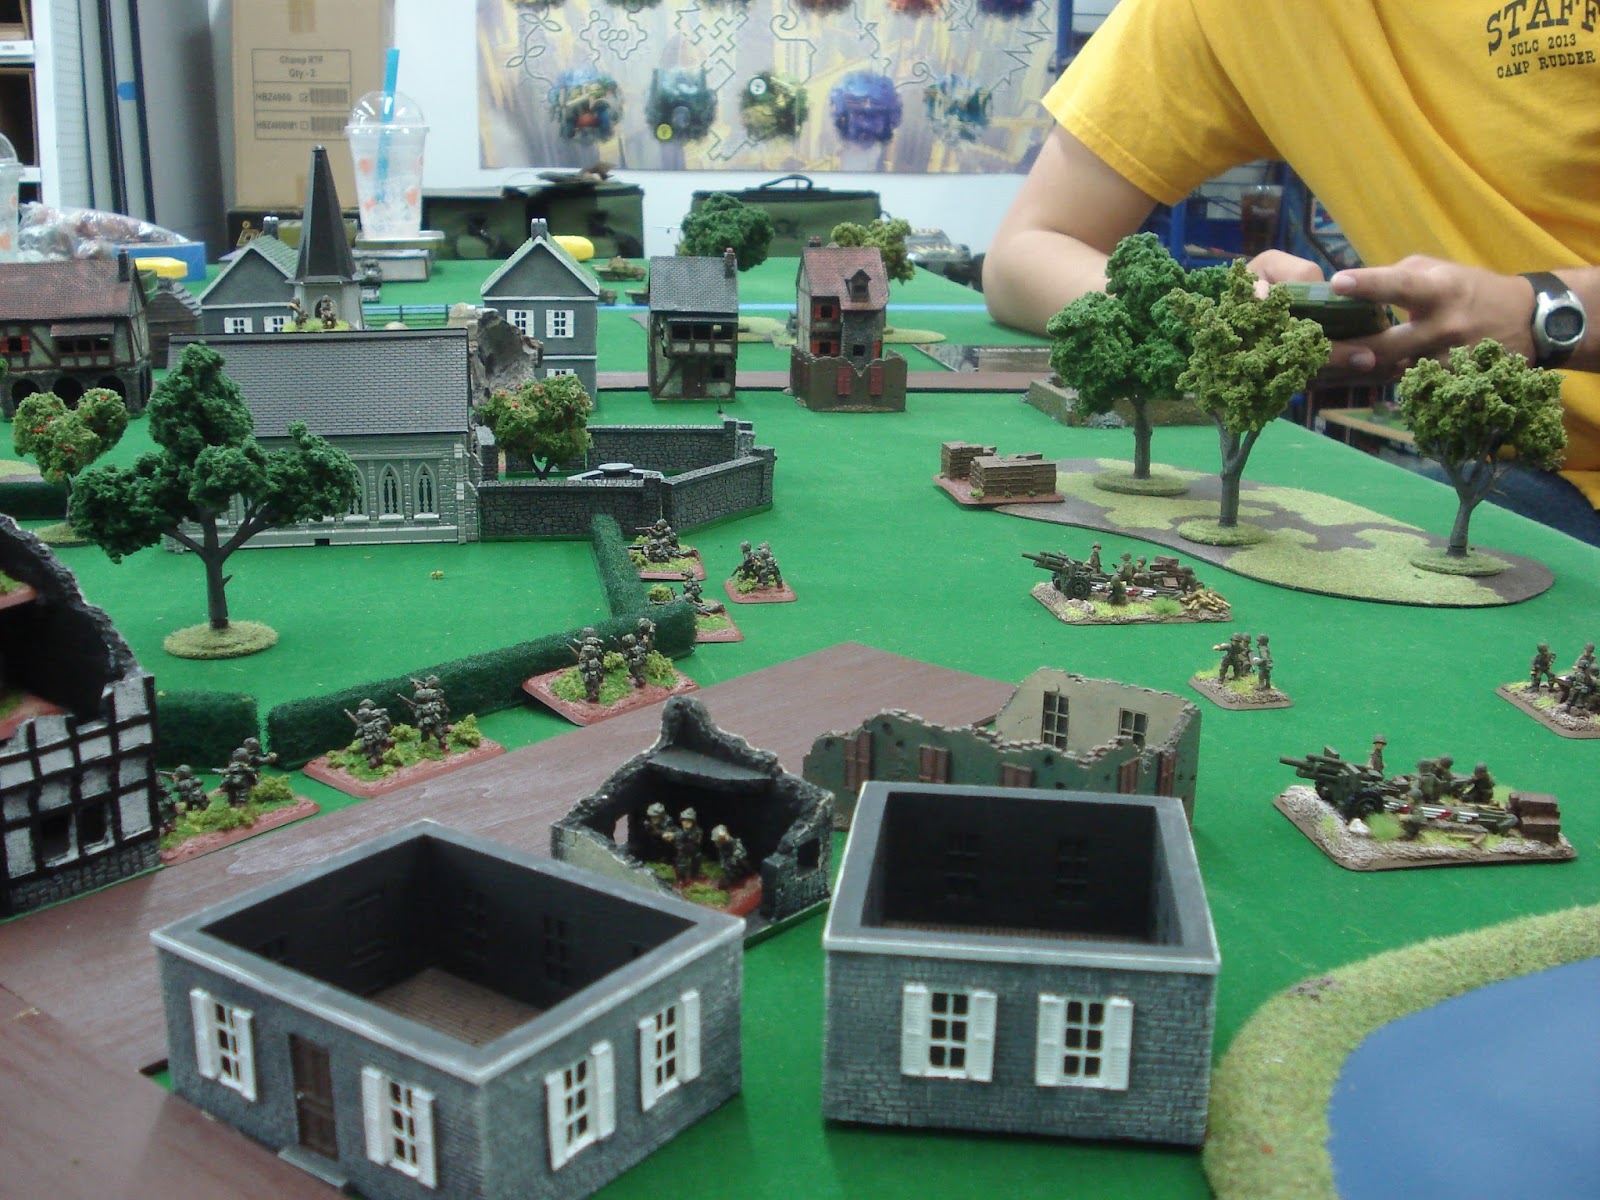
And HQ, two Para platoons, a weapons section, a battery of trained 105's and three Veteran Shermans with Airsupport. It was even at 1200 points.
My German Beutepanzer company consisted of:
An HQ with two Somua S-35, two platoons with a command S-35 and four Hotchkiss H-39, one platoon with a command Panzer IIIj and four H-39, a platoon of four Marder I's, two Pak40's, five Char B's, three 2cm AA guns, and four French 155mm Howitzers. The list was 1200pts as well.
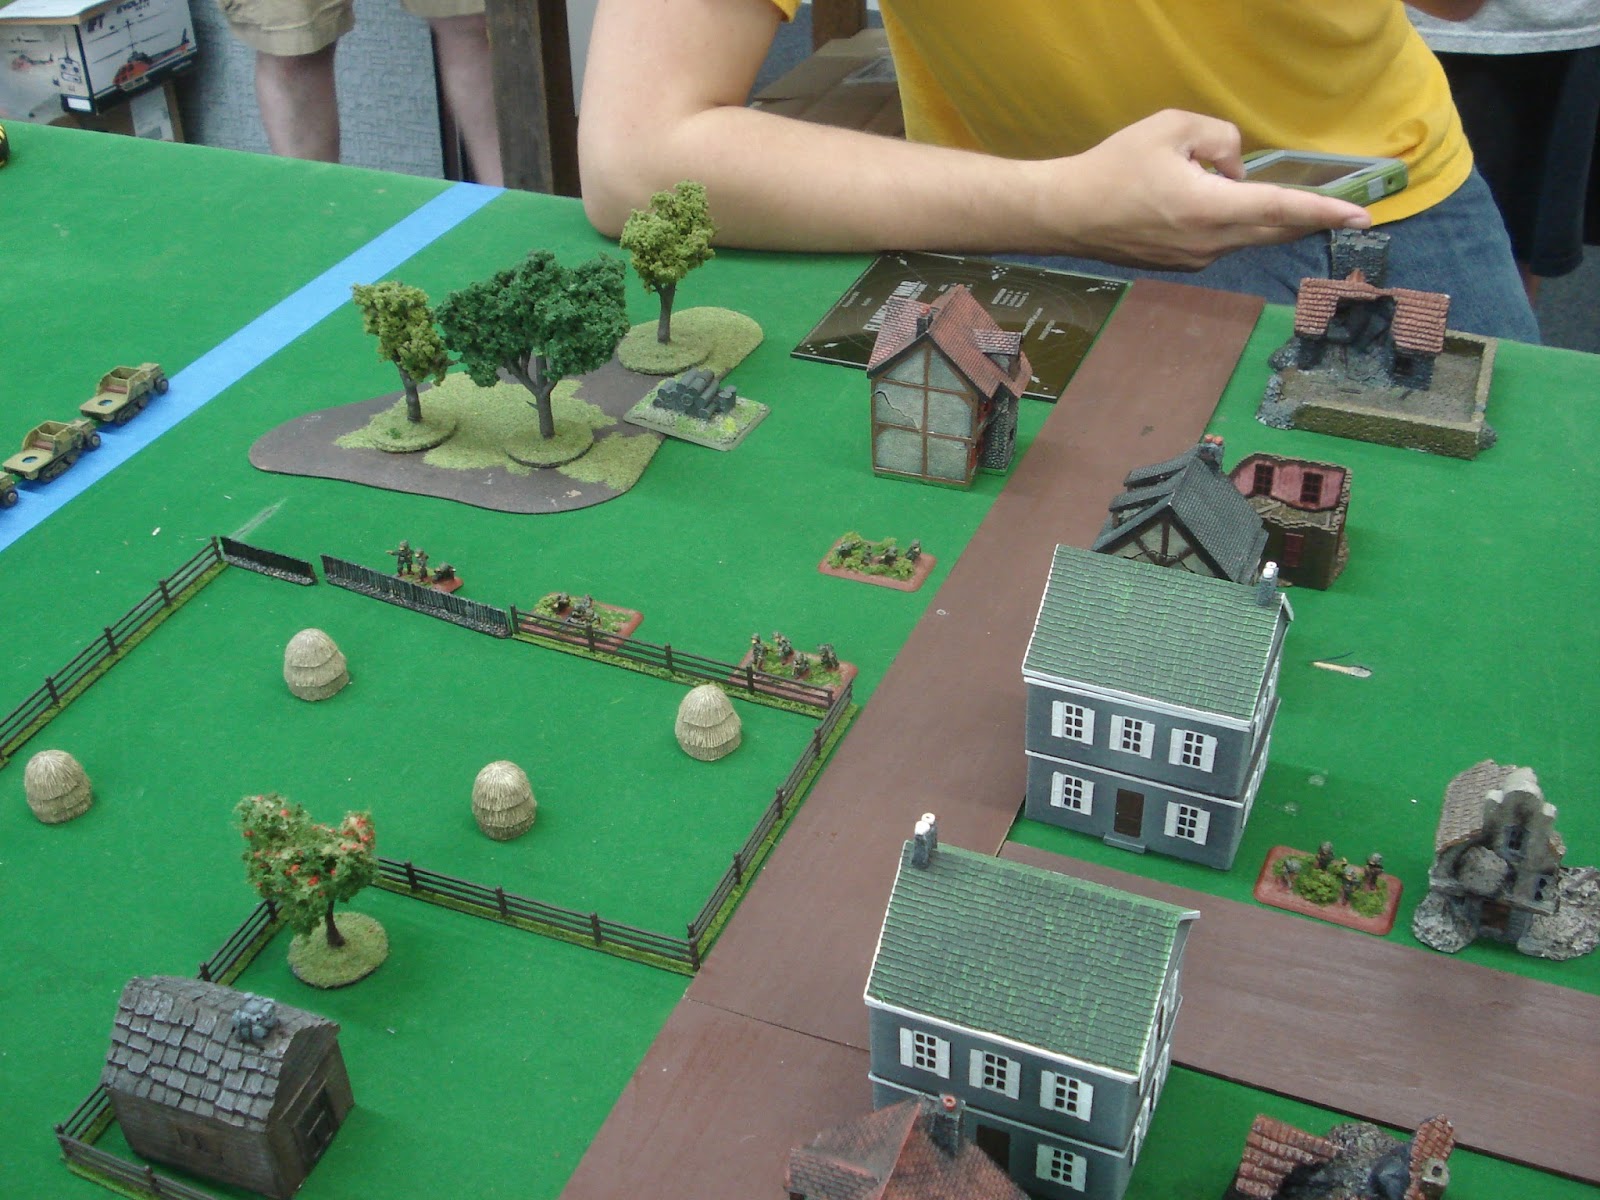
We rolled for Fighting Withdrawal, leaving the Airborne as the defenders. He placed his Shermans in ambush. I deployed heavily against the right most objective, but also had a Beutepanzer platoon on the left to push an objective.
The first turn saw a general advance by the little panzers. I moved the right flank as far forward as possible to get close enough to the Americans to keep his air power away. Artillery ranged in on the American 105's but failed to kill anything, however they stayed pinned down for the rest of the game. I think my trained platoons failed every single stormtrooper roll.
In Matthews first turn he brought out the Shermans and killed a Marder I and a H-39. The Paras just hunkered down and watched the swarm of German tanks approach.
The second turn saw the Beutepanzer platoon on the left the move up and assault the Paratroopers there, while their counterparts on the right flank did the same. In the shooting phase the Marders killed a Sherman and a Char B flamethrower killed the 2iC and a LMG team and an assault by the H-39's saw off an isolated group of paratroopers on the far right. On the left things were a different matter, the bazooka bailed a tank in the assault, the little panzers killed three infantry stands including the U.S. CiC. But the paras counterattacked, the only team that was in range was a LMG team who survived the initial attack, it hit a tank and I rolled a one, bailed, then a failed morale check later and the platoon is down two tanks.
In the American turn, the Shermans killed a H-39 and a CharB, everything else held firm.
In the German turn the Marder I's killed another Sherman and two platoons contested the objective on the right, while one Panzer platoon continued to harrow the depleted Para platoon on the right, keeping them from moving to contest.
On the left the H-39's and 2iC went back in for the assault, they killed several more paras but one tank was bailed and they broke off. The green tankers then promptly fled, I lost six tanks without ever failing an armor save... great.
However things were grim for the U.S. they had to withdraw a platoon and only the last Sherman could move to contest the objective. It missed its shots on the move and was shot to pieces in the German turn. The next turn neither the 105's or the para platoon on the right unpinned and that left nothing to contest the objective... a 5-2 victory for the little panzers that could.
This game was tough for Matthew with his minimal AT assets, and the fact that there was so many German tanks to deal with.