A few weeks ago Bryan and I were able to get together and play a game of Battletech Alpha Strike. It is great to be able to get a Battletech game in when we only have a few hours to play.
As always the game was quick and brutal. Bryan went with a force that included better pilots for almost all his mechs, which make those mechs expensive fast! I chose to use a couple of lances of tanks for this game, one light and fast hover tank lance and a three tank lance of heavier Rommel tanks. I did decide to put a few veteran pilots in my best mechs to increase their odds of hitting.
 |
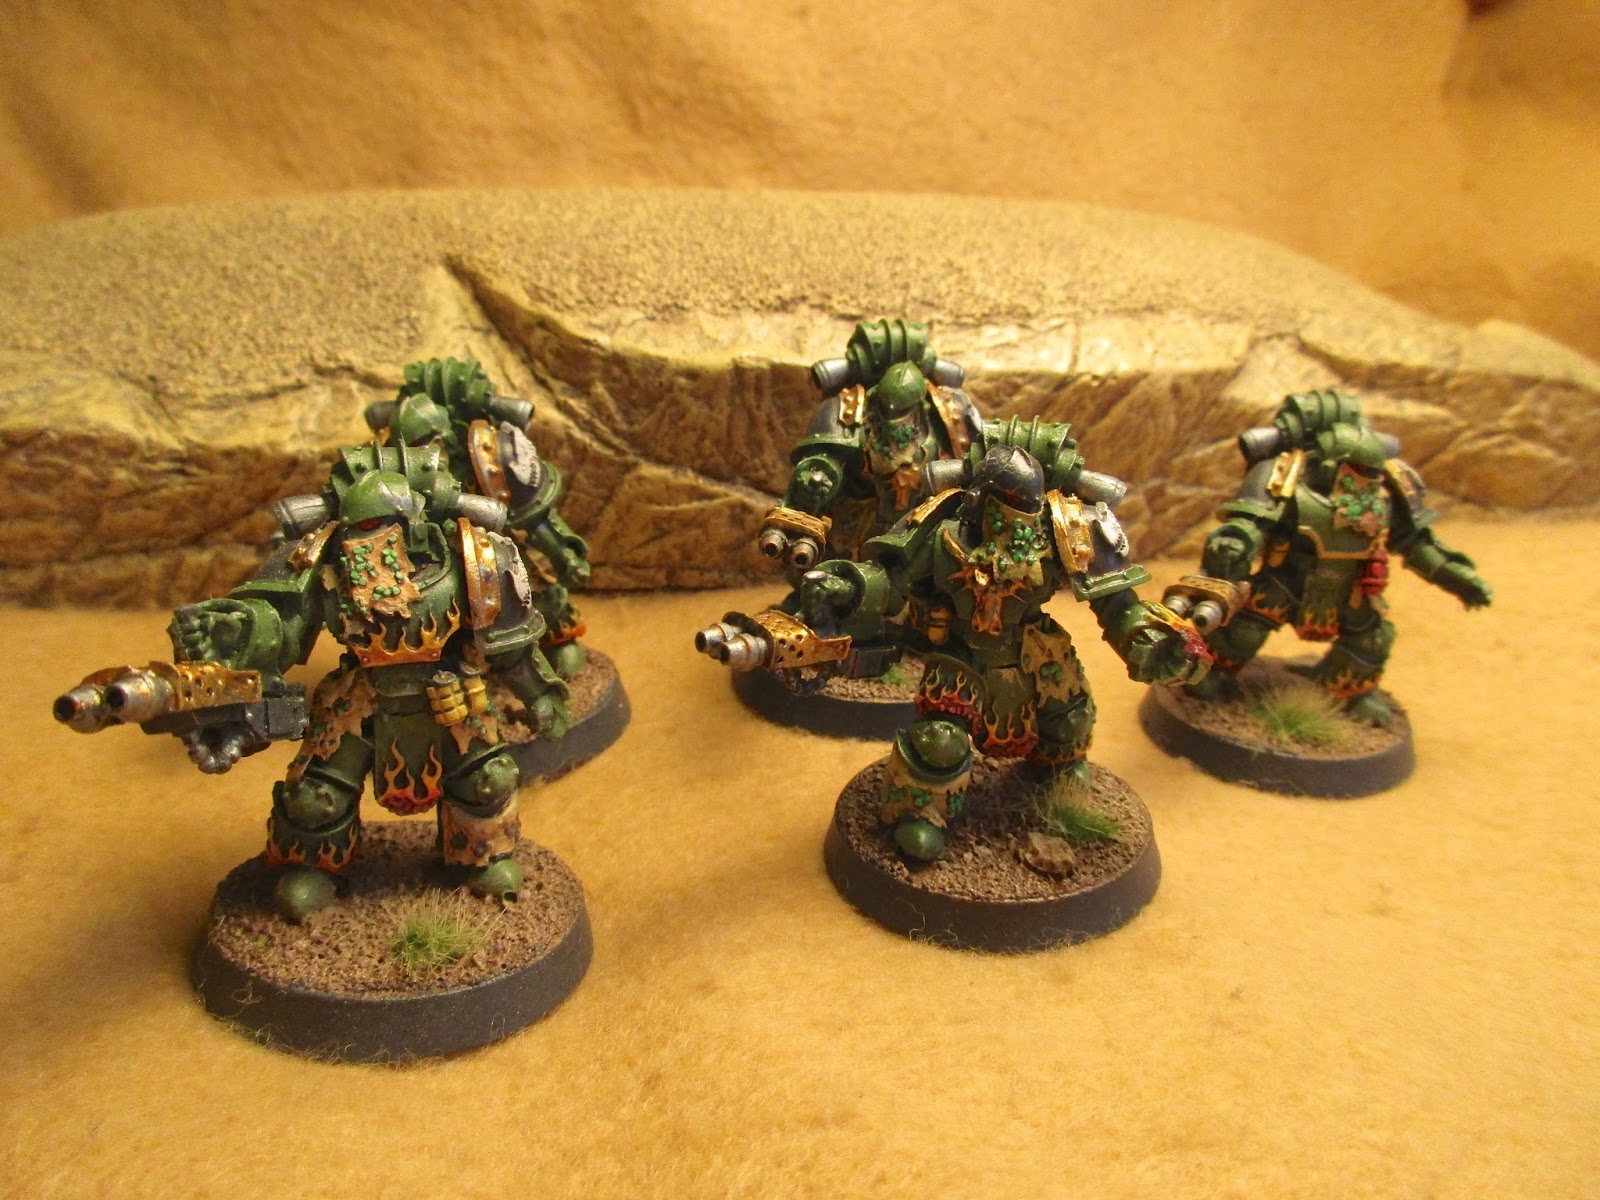
| A 500 pt force from my mercenary group the "Gun Dogs". |
 |
| Bryan's 500 pts. Most of his pilots were much better than mine. |
 |
| The hover tanks prepare to push around the right flank. |
 |
| While the heavier Rommel's hold the center village. |
 |
| The heavy command lance is to the left of the center village. |
 |
| Then the medium lance, with a Flashman, holds the far left. |
 |
| Bryan's fire support lance overlooking the battlefield. |
Bryan would go on to with the initiative roll on all but one turn. In the first turn I moved up the hover tanks on the right in order to get behind his medium lance, the Rommel's firmly held the center village and my command lance and medium lance were on the left side. One note, my medium lance consisted of a Clint, Whitworth, Javelin and a not so medium Flashman who would go on to do some serious work this game! As we alternated moving Bryan pushed up his assaults straight towards my heaviest lance in the center, the problem with that is it allowed three of my lances to target just his assaults.
In the shooting phase I destroyed the Zeus straight away with my heavies and assaults then damaged his ace Stalker pretty badly. When my medium lance opened up, the Flashman stripped the Stalkers remaining armor, and the Clint then hit the damaged assault mech, and we rolled on the critical hit table. Double Sixes, it was destrpyed! My little mech had taken out Bryan's most dangerous battlemech. My Rommel's even manage to hit the Atlas for some damage.
Even though I had shot first and destroyed two battlemechs, Alpha Strike does not count any effects until the end of the turn so Bryans assaults focused down and knocked out my Black Knight before they were destroyed.
 |
| BOOM! The Clint takes out the Stalker with a headshot! |
 |
| Bryan's assault lance gets pasted. |
 |
| Fire Everything! |
 |
| Rommel's holding steady. |
 |
| Return fire focuses down the Black Knight. |
 |
| But the damage has been done. |
The next turn Bryan backed his Atlas behind a building and moved some mechs from his right and left flank towards the center to support it.
My hover tanks dodged around and harrassed his mediums on the right, and between them and a single Rommel, were able to damage the Hunchbacks leg and then destroy the mech a few turns later. While the Pegasus and J Edgar tanks do not inflict much damage, 2 and 1 respectively, they are so fast and hard to hit that they have a much bigger presence on the game than one would think.
My mediums were then able to knock out Bryan's Catapult and Grasshopper on the left and force the Marauder towards the center. So by Turn 4 I had turned his flanks and surrounded his force. That of course put great strain on my troops in the center, and I lost two Rommels and my Thug over a couple of turns.
 |
| The Pegasus' and Edgar's would be the bane of the mediums on the right side. |
 |
| The medium lance moves around the woods to close with the enemy support mechs. |
 |
| The command lance also moves to support them. |
 |
| The Atlas hides from the firepower. |
 |
| The medium lance is backing away from the hover tanks, but has taken damage. |
 |
| One Rommel is knocked out. |
 |
| A legged Hunchback is left to be swarmed by the Edgars. |
 |
| Enemy mechs burn on the horizon. |
 |
| But so to does the Thug. |
 |
| The medium lance was able to wreck their opponents. |
 |
| Bryan's mediums rush back to support the remaining lances in the center. |
 |
| The Crockett and Stalker push up. |
 |
| The Whitworth and Javelin close the enemy in. |
 |
| It is a last stand in the center. |
 |
| The last Rommel and the Pegasus' move in from the right. |
The end began to show itself around Turn 5 when my mediums took down his Marauder, and my assaults finished off the Enforcer and the Edgars got the damaged Trebuchet at last. In the wild melee that followed, his Shadowhawk used its jumpjets to fly over a building and drop right it the middle of my mediums, gunning for my Flashman. It damaged the Flashman, survived and jumped again behind my Crockett, where the Whitworth finally took it down.
His Atlas finally collapsed under the fire of the hover tanks, and the close range firepower of the "Fire" Javelin.
 |
| It becomes a close range brawl at the end. |
 |
| The Stalker goes down but so does the Atlas. |
 |
| The mediums on the hill fired down with impunity. |
 |
| The Bushwacker rushes forward to knock out the cursed Flashman. |
In the end his Bushwacker took the last structure off my Stalker and rushed my damaged Flashman, but was gunned down by fire from every side, very Butch Cassidy and Sundance Kid style.
 |
| The tanks finish off the battle. |
In the end the things that helped me most was having an additional lance for maneuvering and taking out his main firepower in the first turn. The MVP was probably the Flashman 9C for me, as it did consistent damage even after I chose to overheat it several times.
The not MVP was the Crockett. I was my toughest mech on the board and yet was never even hit, and also in eight turns it only hit a single time when firing...


