Clash of Steel
I was able to get in a rare game of Flames of War... or Clash of Steel. Clash of Steel is just the rules for Flames of War, using only tanks. The setting is a 1947 What-If scenario with the Western Allies and Germans taking on the Soviets. While I love pure historical scenarios in Flames of War, I do have a soft spot for prototype tanks (but don't really care for paper panzers!). As you may have seen in some posts from several years ago, I already have a lot of US and German prototype tanks in 15mm, but it is really nice to now have them in plastic.
The Game
My friend Bryan and I got together at the local hobby shop and played a 125 point game of clash. 125 points is a rather large game, and after the fact, we decided to likely stay at 100 points for future games. My force was a mixture of the US options.

1 - HQ T29
3 - T29 Heavy Tanks
2 - T30 Heavy Tanks
3 - Super Pershings
5 - M26 Pershings
2 - T28 Super Heavy Tanks
5 - M4A3E8 Medium Tanks
4 - M36 Tank Destroyers
Bryan,s British force was all about the Centurion Tanks. He had 15 Centurion Mk III's and 4 Tortoise's. His commander was one of the Tortoises.
For Clash of Steel the players draw one a mission deployment card and then a separate mission rules card. That means there are hundreds of variations for the missions, keeping things fresh. Also, the objectives have special rules, that can give extra points, give fewer points, add concealment around them, etc. Then there are special tactics cards that players draw to add one-use bonuses. These variations give every single game a totally different flavor.
In my many years of playing Flames of War, we could role for a mission, and I could see how many of the games would play out, before rolling any dice! That is not the case for Clash of Steel.
Our mission divided the board into table quarters with each player deploying in opposite diagonal quarters with three objectives, two in the unused quarters and one in the center. Our mission rule was simply night fighting for 6 turns.
 |
| The board during deployment. |
 |
| The US deployment table quarter. The Shermans make a run around the left flank. |
 |
| T28's and M36's facing off against the British on the right. |
 |
| The US pushed the center hard. |
 |
| The British on the right. |
 |
| The T29 HQ and Super Pershings in a useless overwatch position. |
Turn One
The British had first turn and advanced a third of their forces towards each objective. They were able to reach the right most objective, but it's special rule was that it was only worth one point to who controlled it instead of the normal three. Suddenly the right-side objective was not nearly as important as the others. The British failed to see any of the American tanks.
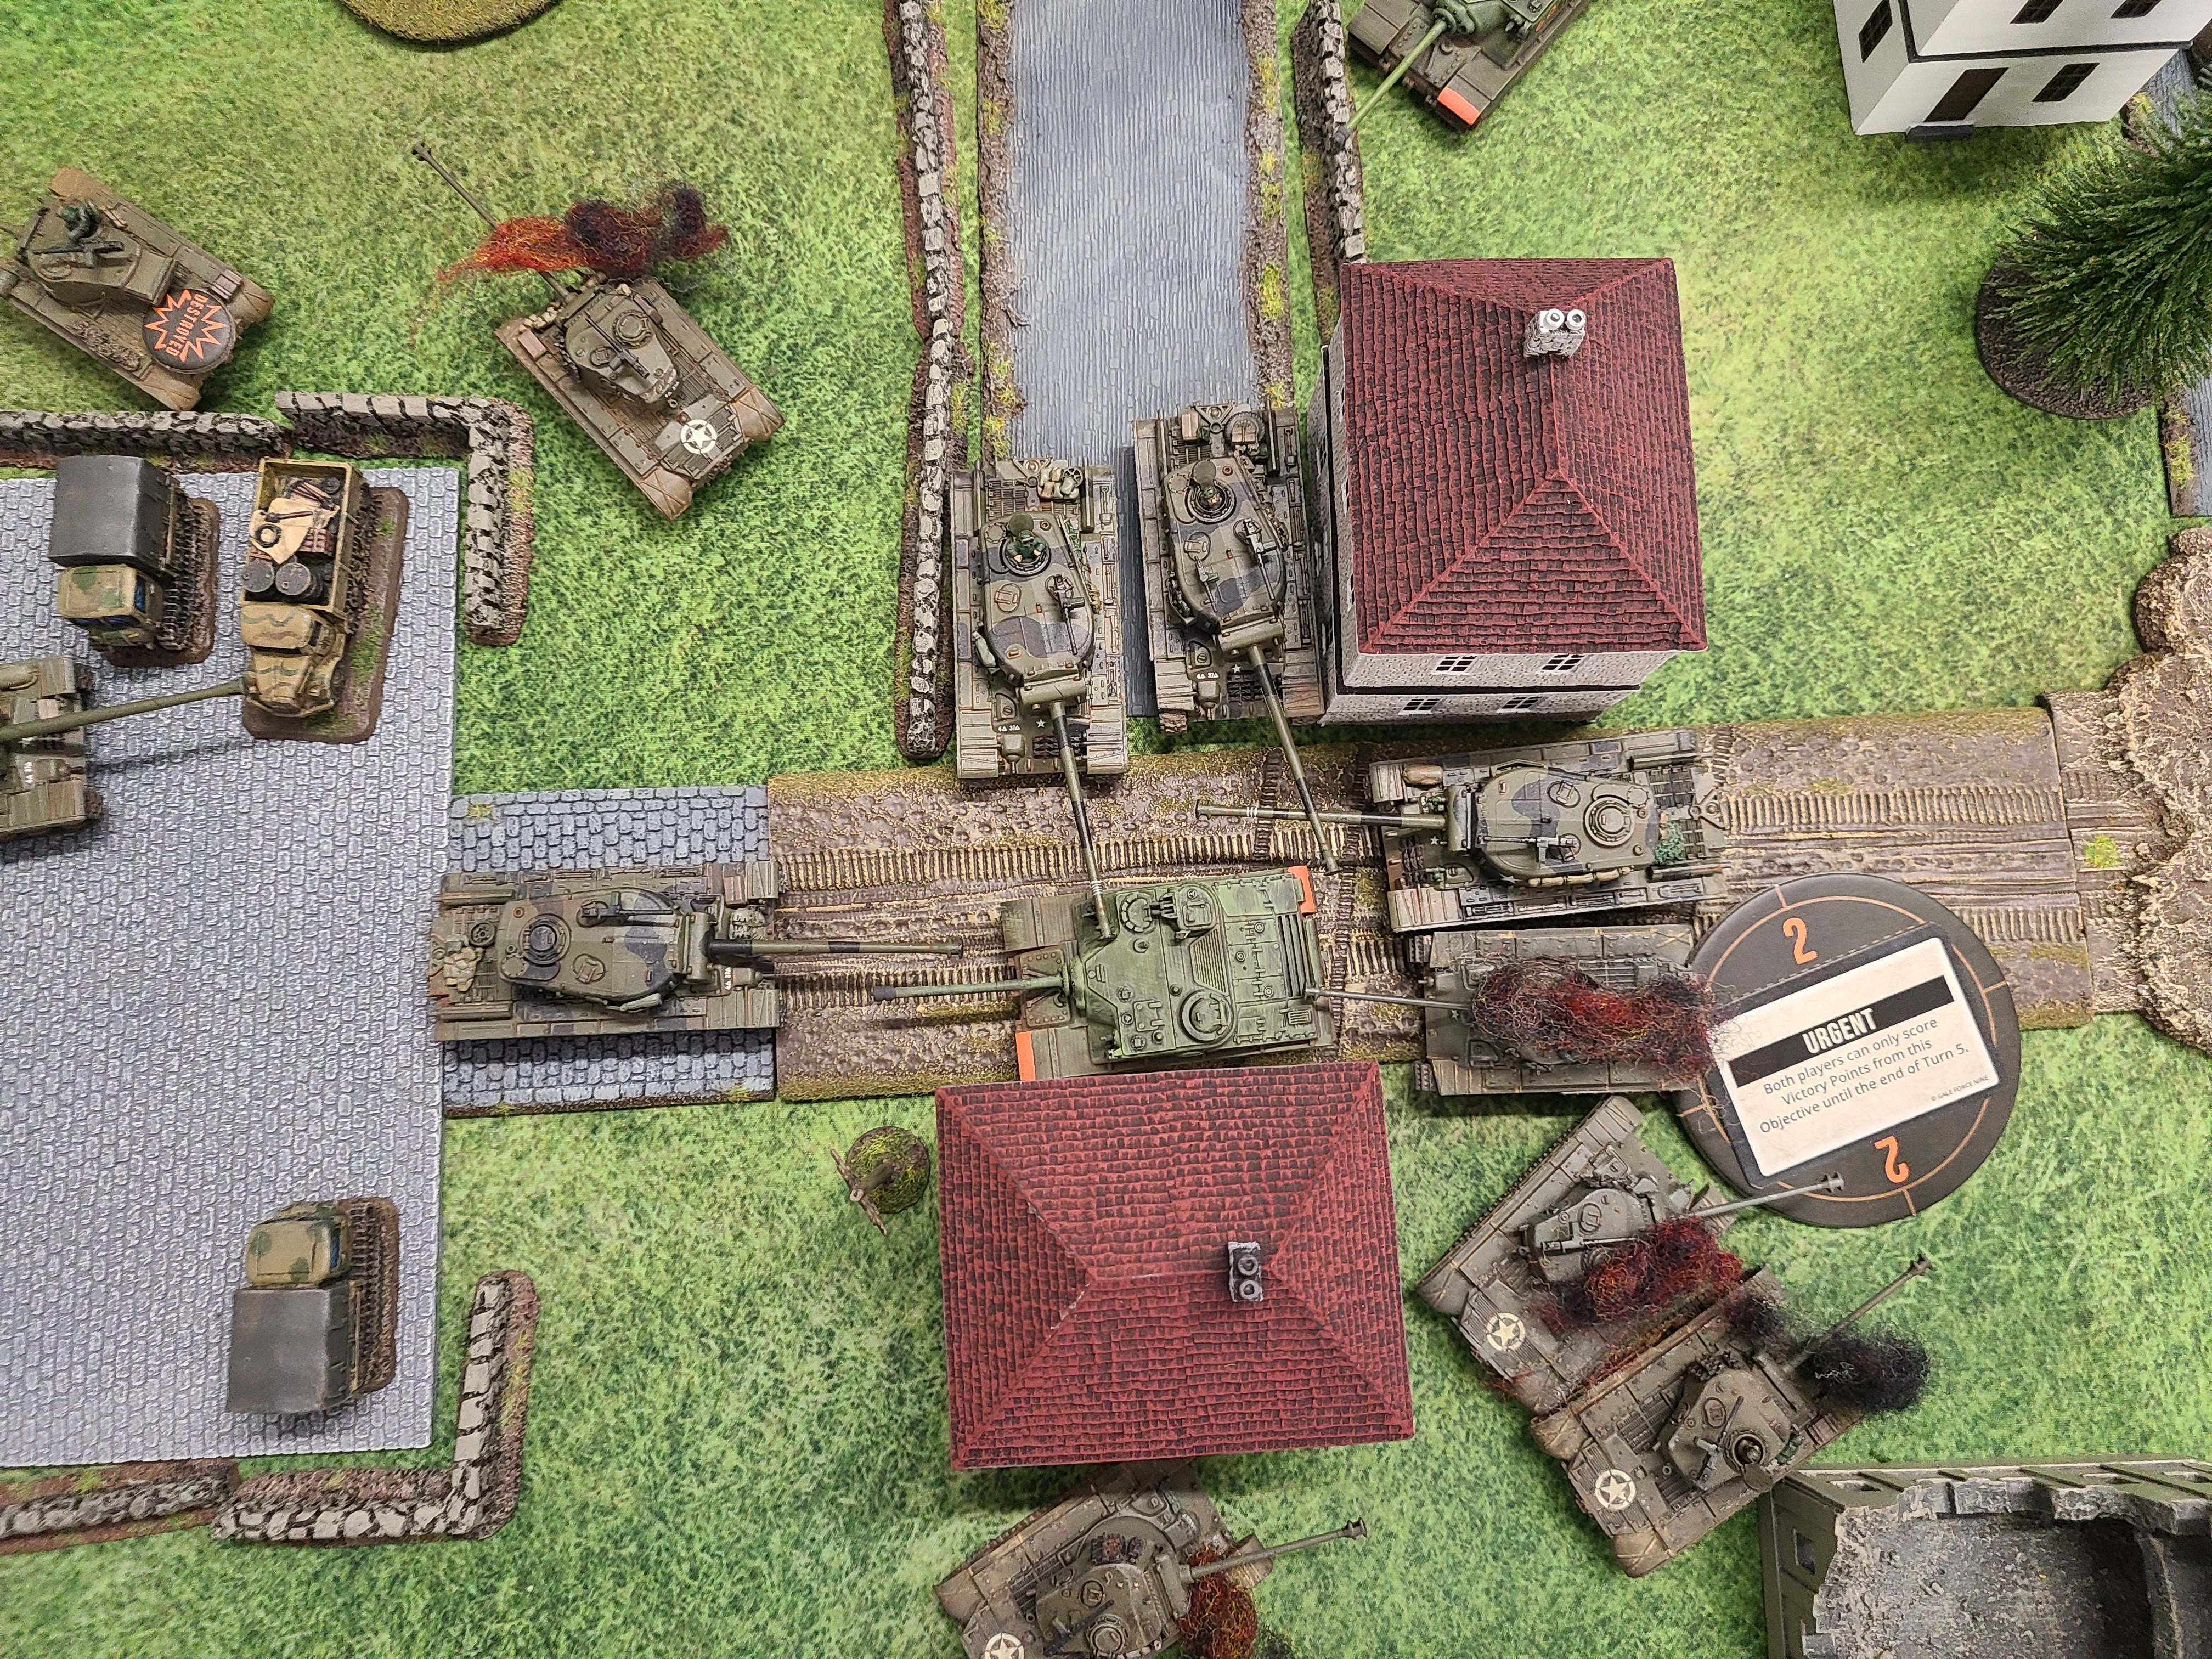
The Americans just advanced in the center and on the left. On the right the T28's and Jackson's moved over to hold off the British forces, but not aggressively push that objective. There was no shooting on by the Americans, using the darkness and cover instead.
The British scored a few points for the far-right objective.
 |
| A brawl begins in the center of the board. |
 |
| The M36's flank and destroy three Centurions. |
Turn Two
The British continued to advance all across the board. Some Centurions moved onto the left most objective with a terrain dash but could not hold it in their turn because of that. But some excellent spotting and shooting by the advancing Centurions saw off two Pershings in the center. A T29 was also bailed by and aggressive flank attack from a troop of Centurions.
The US forces then retaliated by flanking and destroying the three Centurions on the railroad tracks and the Pershings took out one of the Centurions that shot them up but their commander failed its rear shot into the Tortoise on the center objective. A T28 also bailed a Centurion on the right. The Shermans hid behind a building, ready to jump on the left objective next turn.
Again, the British scored more points this turn.
 |
| The M26's in the center taking a beating from a troop of Centurion III's. |
 |
| The M36's go for a second troop of Centurions but miss. |
 |
| The Shermans fought a wild fight on the left flank, eventually winning! |
The British firmly took over the left objective and scored a full three points for it. Another Pershing was destroyed and a M36 bailed. But American armor and a failure of British firepower tests saved most of the US tanks.
The T28's destroyed a Centurion and the Shermans another, when they raced around the left flank, but American gunnery in the center failed and the British were left unscathed there. A Pershing missed two-point blank, stationary shots into the rear of a Tortoise. The T29s struggled over the rail line and the craters, failing several cross checks over multiple turns, the darkness made it all the harder.
 |
| I'm not a huge fan of the T28's but they did work this game, winning out on the right flank. |
 |
| The Tortoise command troop moved in on the center. |
 |
| The last Pershings were taken out as the T29's came in and took over the center. |
 |
| The T30's and their 155mm cannons ended up doing well. |
 |
| The scrappy Shermans refuse to go down! |
Dawn Broke!
The British finally destroy all the Pershings in the center. The Remaining two Centurions on the right risk a turn of fire to get into the rear of the T28's. A Sherman goes down on the left but they still contest.
The risky maneuver does not pay off and the T28's destroy both Centurions that were attempting to race past them. The Shermans kill and bail a Centurion on the left, taking that objective, and the T29's destroy the last Centurions in the center. The T30's and Supper Pershing are working their way around the left center of the board to encircle the two Tortoise's stubbornly contesting the center objective.
The British lead on points has now been cut by the US.
 |
| In the end the British Center was enveloped. |
 |
| With the arrival of the super Pershing's the left was finally secured. |
Not a lot of pictures of this turn as the action really ramped up.
A Tortoise in the center nailed a T30 and another Sherman went up with one more bailed, but the British were firmly being squeezed now. The last two troops of Centurions were now fighting for their lives on the left objective. The command Tortoises continued to slowly trundle towards the center.
The US surrounded the center Tortoise, but it survived. The Centurions on the left were whittled down to a single tank in each troop, but they both stayed.
The US moved solidly into the lead on points.
 |
| The T28's bagged a Tortoise at the end. |
 |
| Finally, the US tanks navigated the destruction in the center to take out the Tortoise there. |
Turn 6
The Tortoises knocked out a Super Pershing and bailed another, but the platoon stayed. The command Tortoises exposed their flanks to the T28's to go for flank shots on the T29's... but missed.
The T29's and last T30 surrounded the Tortoises in the center and destroyed both! Slow firing didn't save the British super heavies. The T28's took out one of the command Tortoise's with rear shots and the Shermans and Super Pershings finished off the Centurions on the left.
Victory to the Americans!
Game Recap
A quick description of this game would be that it was very close until all of a sudden it wasn't! The British got ahead on points quickly and I was worried about catching up, but I stayed steady and didn't feed in platoons piecemeal. That is except for the M26's who I need to contest that center objective until all my fat heavies got over the railroad tracks!
A few take aways, Tortoises are tough! I gave my T29 commander an ability to increase its AT by 2, and it still could not penetrate the front of the Tortoise.
Night helped us both get into position but really hurt the shooting, and my cross checks!
This was a very dense board so the British couldn't use their accurate guns very often, but they did have stabilizers. Yet, at the end of the day, the US slow firing guns got the job done.
Bryan hit well but failed a large number of firepowers! The 2+ or Automatic firepowers on most of the US guns came in clutch!