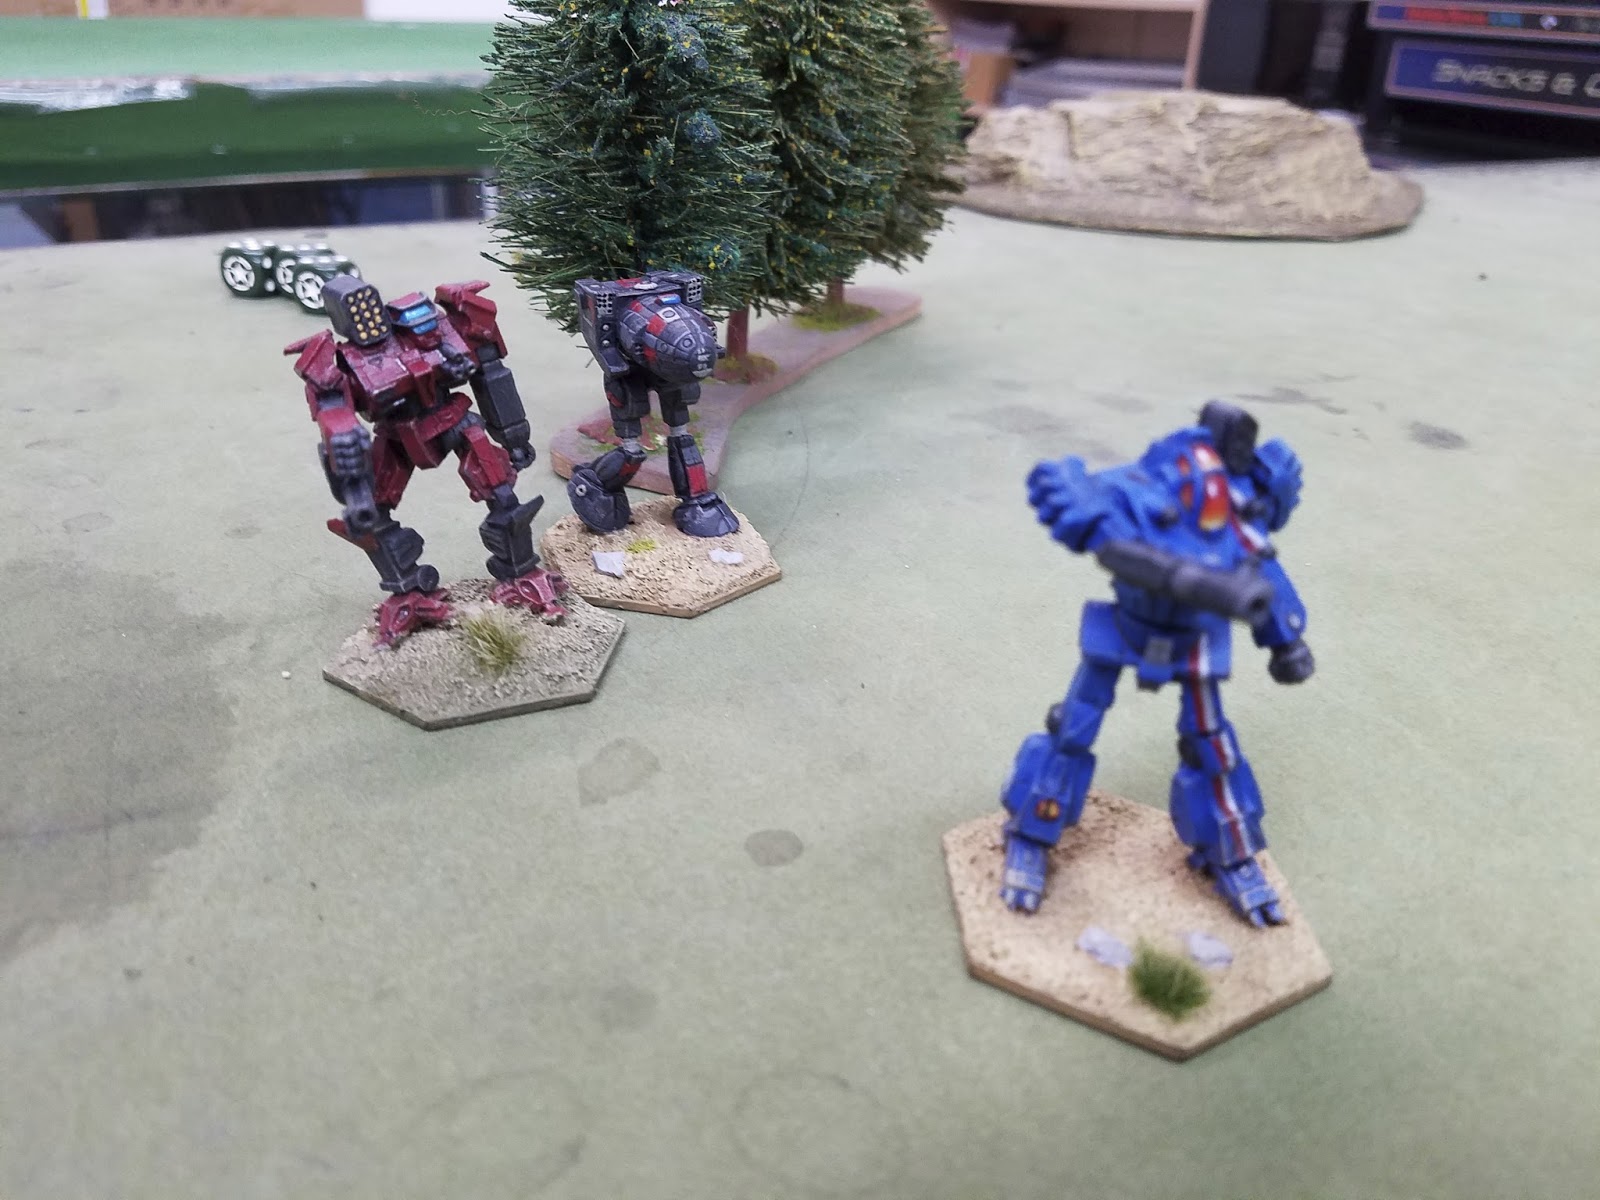
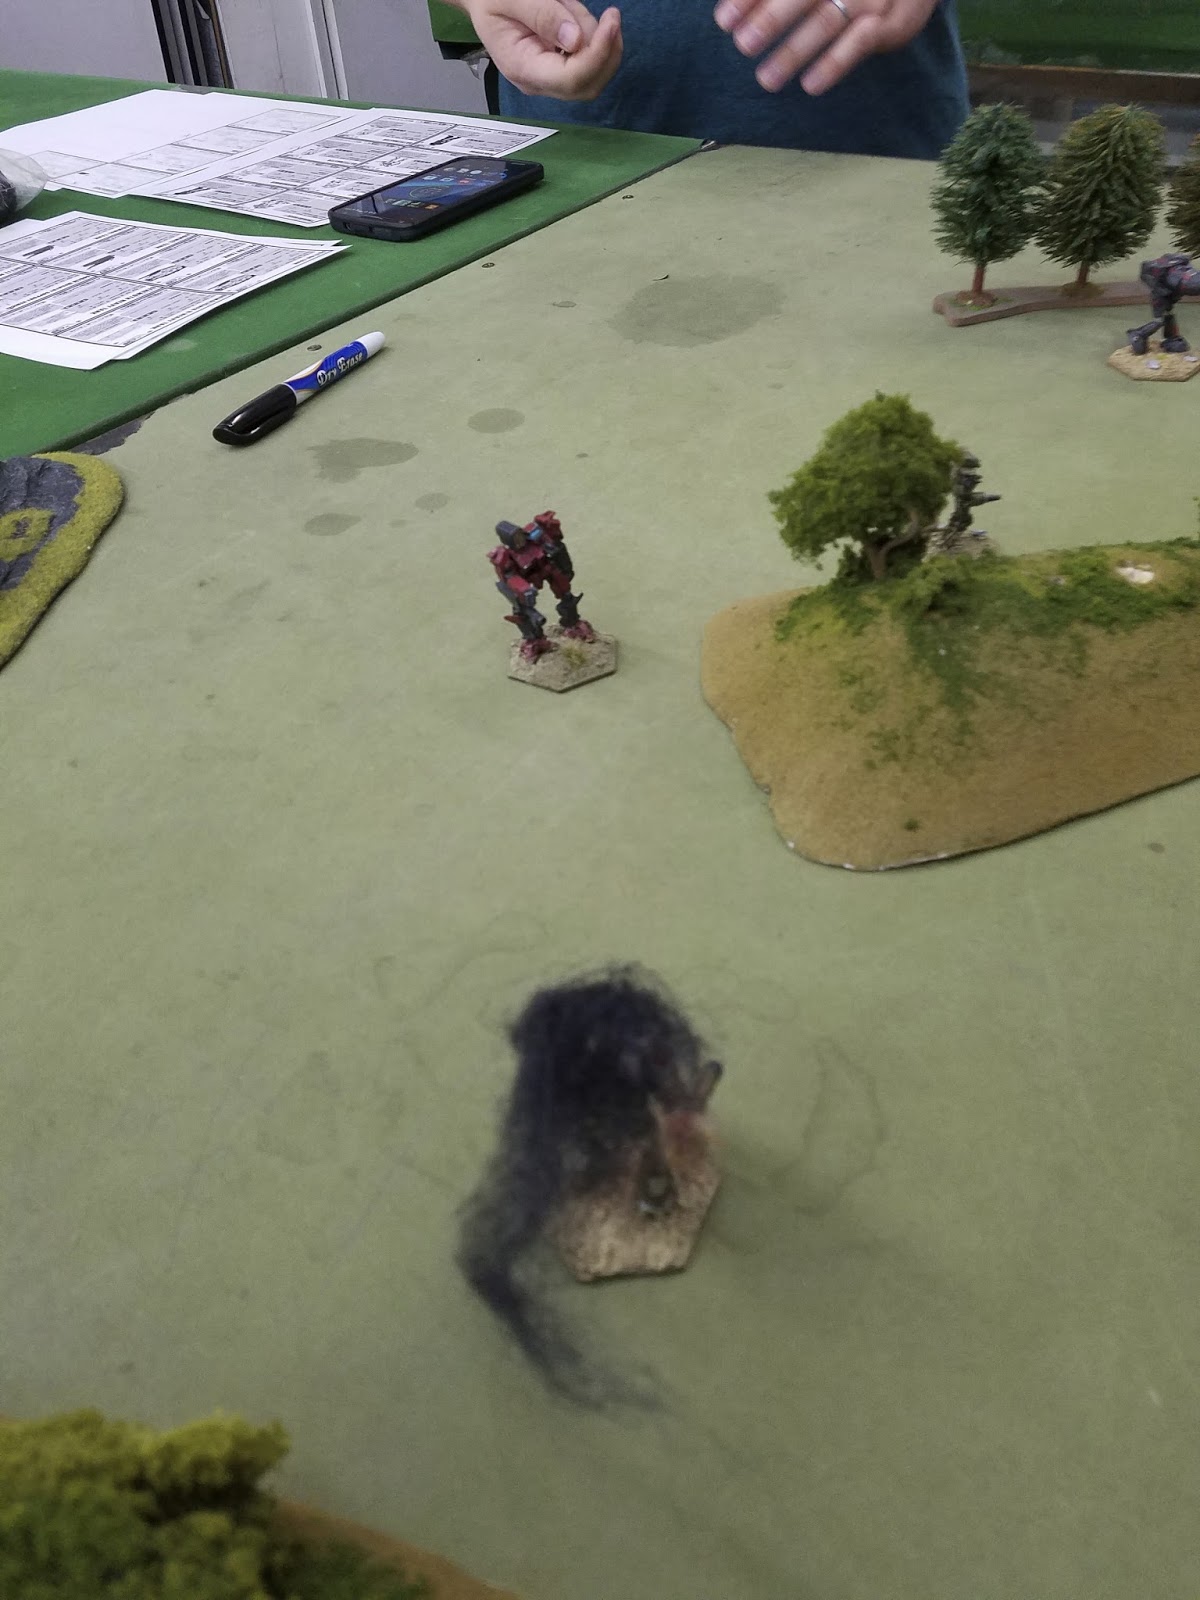
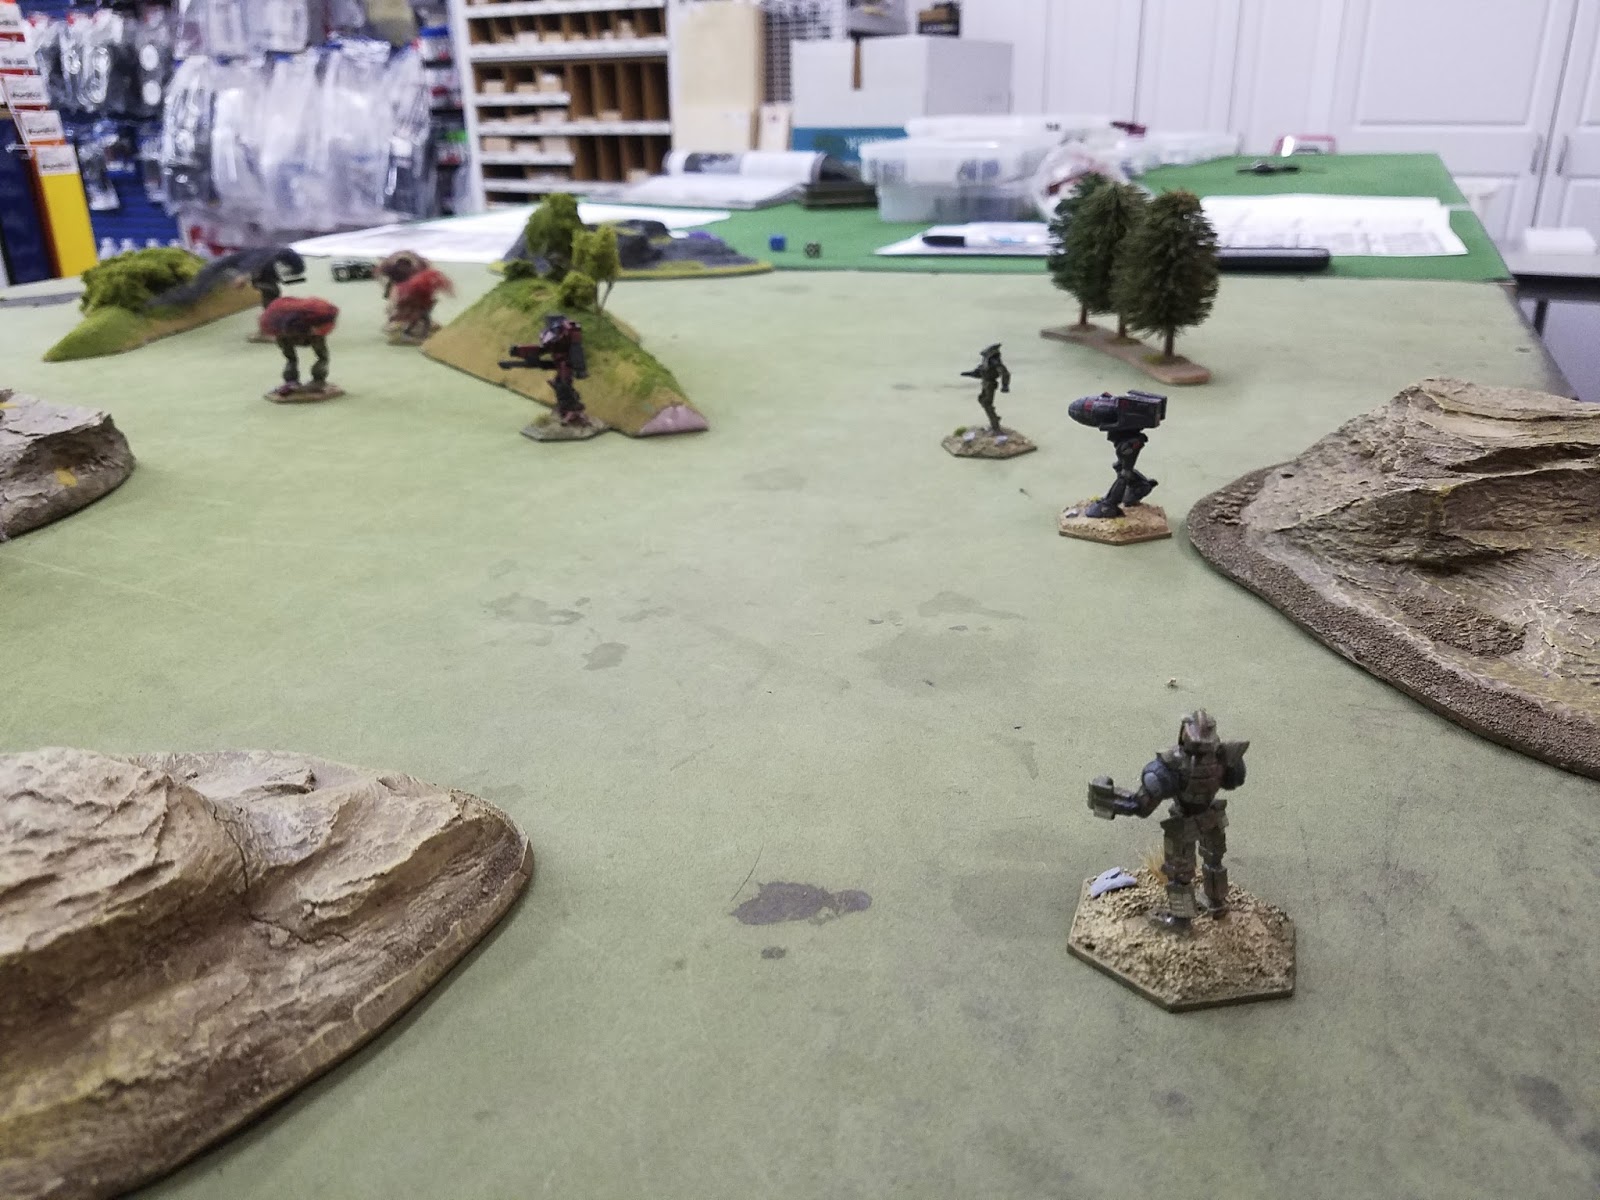
A couple of events have come together to get me back into playing Battletech Alpha Strike. Over the last few months I have enjoyed painting up some of my Battletech miniatures that have been wasting away in boxes for years. Then my friend Bryan, who happens to be a huge Battetech/Mechwarrior fan, moved back into the area. As I found out with my FOW Six Days War gaming and rules, it is impossible to stay motivated about a game, if no one else is interested and our gaming group here has virtually disappeared. So Bryan and I got together and started talking about Mechwarrior online and the new Battletech computer game, I then mentioned that I still had all my Battletech miniatures and well, thats all it took!
We played a few games to just knock the rust off and then meet up at the shop for a larger game. One quick complaint, I bought the Alpha Strike rulebook years ago when it first came out and since then there have been many changes. While I have found various FAQ's and posts online about the updates and changes I am still struggling to know what has changed and what is the same. I wish there was a clear official document with everything laid out.
The game of Alpha Strike that we played this weekend was a 200 pt Inner Sphere battle. We just mixed and matched random mech that we liked to get our lists.
 |
| The Stalker, Black Knight and Wolfhound were skill 3 pilots. |
My force consisted of a Stalker, Centurion, Mauler, Wolfhound, Black Knight, Crab, Cyclops and an Enforcer.
 |
| The Thunderbolt, Battlemaster and Zeus were all Skill 3. The Stalker was Skill 2! |
Bryans force contained a Thunderbolt, Battlemaster, Warhammer (he substituted a Hammerhands model as he hates the IWM Warhammers), a Bushwacker, Zeus and a Stalker. He had a smaller force as most of his mechs were better models and better trained.
We set up the board with some general terrain but later realized it was pretty wide open for Battletech Alpha Strike as almost all mechs could be hit from nearly anywhere.
I deployed my force mainly center and to the left as I planned to shift my faster forces to where I needed them the most. Bryan spread his rather evenly across the board.
 |
| The Battlemaster and Stalker represented the majority of Bryan's firepower. |
 |
| My equally dangerous Stalker and the Black Knight, one of my favorites. |
 |
| All the miniatures we used were mine, but Bryan has recently started his force. |
 |
| A Zeus on the move. |
 |
| This seems like enough to take out three mechs, right? |
My center force moved to the left to go after his heavier elements for a few turns. The first couple of turns saw a few shots back and forth but little to no damage dealt, my Wolfhound did take a stray shot and loose its armor.
 |
| That Battlemaster is tall! |
 |
| I was planning on enveloping his left flank. |
 |
| The FOW dice represents that the Stalker is Narc'ed. |
Turn three ended up being the turn where the game was likely decided. He had the initiative and were alternated our moves, then I began shooting. I had all eight of my mechs able to shoot. His Battlemaster and Stalker were the primary targets as they were the most dangerous. All eight mechs fired and when the dust had settled only a single mech had hit taking two armor off the Battlemaster. The average score to hit was an eight on two six sided dice...
Bryan's choice to increase his pilots skill then paid off. The Battlemaster, Stalker, Thunderbolt and Zeus returned fire and all hit. They absolutely gutted my Stalker and hit the Enforcer and Cyclops.
 |
| With my assault blunted I turned to face the flanking force. |
 |
| The Bushwacker and Warhammer moving around my flank. |
 |
| But the Black Knight was waiting. |
 |
| My Stalker was wrecked by long range fire from the Bushwacker. |
 |
| By best mech never even scored a hit... |
I really thought the game was done after turn three as four of my mechs already had suffered critical hits that limited their performance and I had landed only a total of two hits against all of Bryan's mechs.
However things looked a little brighter this turn as several of my medium mechs hit the Zeus. Then the Centurion and Black Knight combined to totally destroy the Warhammer, even if the Black Knight did have to overheat to do so. As expected Bryan's mechs finished off the Stalker. It couldn't escape as it is not a fast mech regularly and one of the critical hits had halved its movement. The Mauler to a few hits as did the Black Knight.
 |
| Victory or Dea..Ahhh! |
 |
| One on one. |
 |
| Of course... |
 |
| Autocannon to the back! |
On turn five Bryan moved his Thunderbolt around to face the damaged Mauler and shifted the rest of his forces toward the center. I jump the Enforcer right up to his Zeus, and also to draw fire away from my healthier mechs.
The Enforcer, of course, misses and is annihilated in return and his Thunderbolt destroys my Mauler with the Mauler missing its last shots back. The Centurion gets behind the Zeus and finally takes it down.
 |
| AC shot to the cockpit! |
 |
| It is a knife fight on the left. |
Bryan jumps his Thunderbolt into my forces but I am able to move behind him. The Crab takes a point blank shot at its back and misses. The Wolfhound hits but its damage is reduced due to a critical hit. However the Centurion hits the Bushwacker at point blank range and puts one damage on structure, I then roll boxcars on the critical and destroy it! A shot right to the cockpit. That lets me cool the a heat point down on the Black Knight.
 |
| None of my mechs can hit anything! |
 |
| And they die in return. |
There is little movement as most things are trying to avoid being seen. The crab does poke its nose around to shoot the Battlemaster but misses, the Battlemaster does not miss and destroys the crab. I land a few hits from the Cyclops and Centurion on the Battlemaster. All the while the terrifying Stalker is backed against a hill watching the entire board ready to kill anything I move out with its horrifying 6 damage at medium range.
 |
| The Centurion is the VIP of my force as he bags the Zeus. |
On the next turn the Thunderbolt moves around and knocks out the Cyclops, but I do destroy the Battlemaster and am able to remove the last heat from the Black Knight.
 |
| The Black Knight is not dead yet! |
In the most cinematic moment of the game the badly damaged Black Knight, dragging itself forward with a destroyed leg, takes aim and overheats all its weapons to try and take out the Stalker. In game terms I was just able to get to medium range, with my movement halved from a critical hit, where I could overheat my weapons to do more damage. I then hit his untouched Stalker with a whopping seven damage. Unfortunately the Stalker has plenty of armor and destroys the Black Knight in return.
The Wolfhound and Centurion rush forward and fire on the Thunderbolt but only the Wolfhound hits, doing two damage and a crit! I roll a 5 meaning there is no additional effects from the critical.
 |
| Can the Centurion get the job done? |
 |
| A light and medium versus a heavy and assault. |
 |
| Any hits from the Stalker are certain death for either of my mechs. |
 |
| The Centurion would go out without a fight. |
The last few turns came down to a David and Goliath struggle, my two mechs were outweighed by 65 tons. But they wouldn't let the Black Knights sacrifice be in vain! Both fired on the Stalker and hit doing two criticals, destroying a leg and damaging its targeting computer.
 |
| The Wolfound couldn't outrun the Stalkers weapons. |
 |
| It was likely a little overkill. |
Alas, it would not be enough. The Stalker, even with a damaged targeting computer, destroyed the Wolfhound. The Centurion did hit the Thunderbolt on the last turn and damaged its weapons, but the return fire was too much for the little mech. In the end the Stalker had four points of structure remaining, the Thunderbolt only one.
 |
| The sturdy Centurion was last to go. |
The game turned out to be an incredibly fun one, even though I thought that it was over in the third turn.
I'll leave you with a teaser of whats to come!